Candle crafting · Step by step
Aroma Candle Making at Home: A Visual Step-by-Step Guide
By LumenOracle · 10/25/2026 · 5 min read · Candle crafting
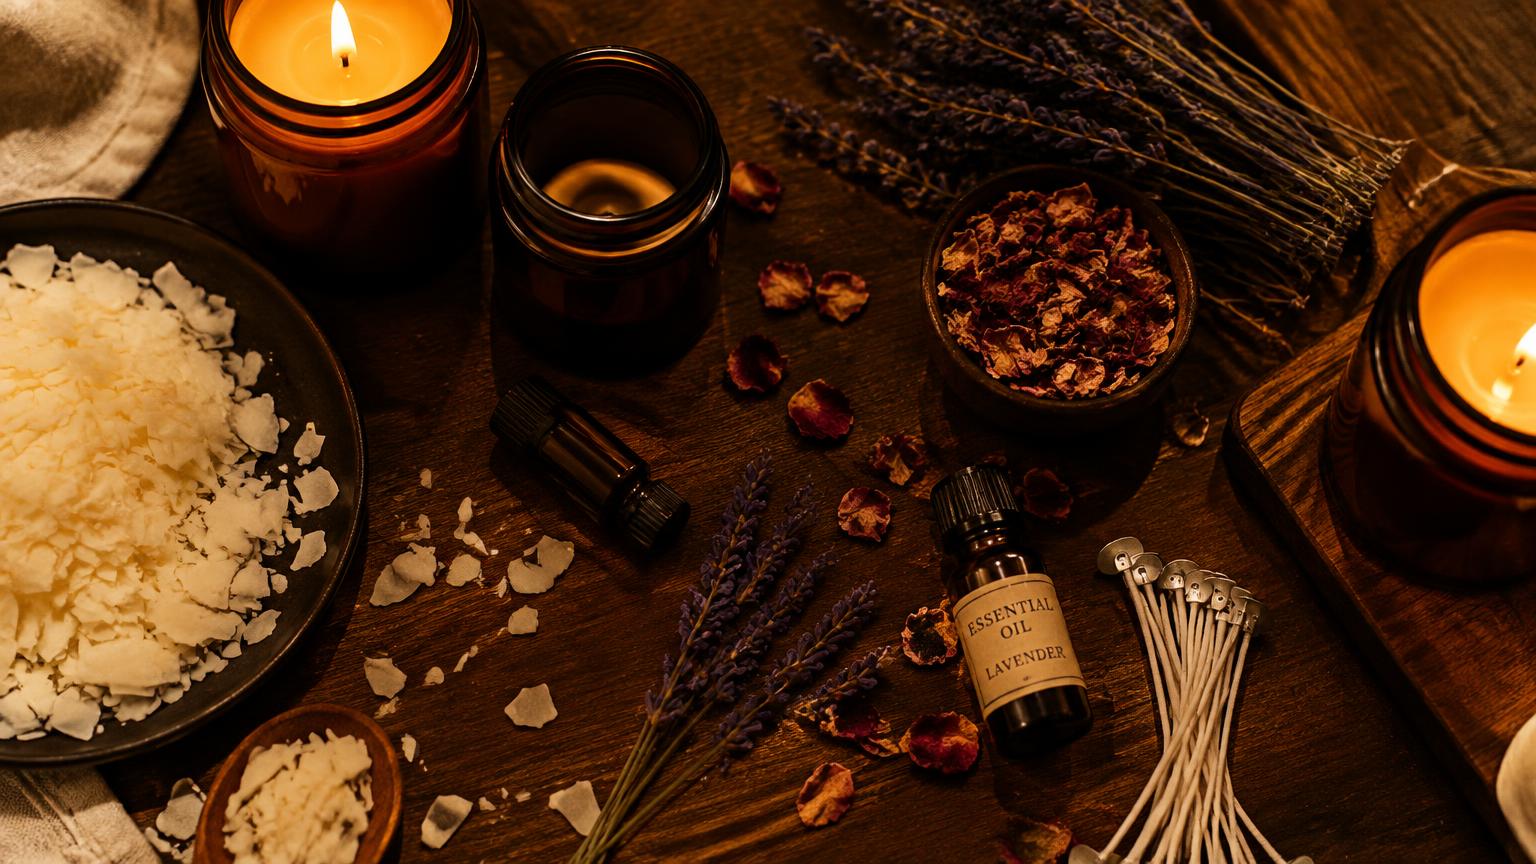
Make your own natural, fragrant candles with soy or beeswax, a cotton wick and a few drops of essential oil — eight illustrated steps, safe temperatures and gifting tips.
Handmade candles feel different. You choose the wax, the scent and the colour, and you know exactly what is burning in your home. This guide walks you through a simple container candle, one picture at a time.
Kinds of candles you can make
Pillar
- What it is:
Stands on its own, no jar
- Good wax:
Soy + beeswax blend
Container / jar
- What it is:
Poured and burned inside a jar or tin, often with a lid
- Good wax:
Soy, palm, beeswax
Votive
- What it is:
Small candle burned inside a glass holder
- Good wax:
Soy, beeswax
Tea-light
- What it is:
Tiny candle in a metal or clear cup
- Good wax:
Soy, palm, beeswax
Floating
- What it is:
Flat tea-light that floats on water, with flowers
- Good wax:
Firmer blends
Taper
- What it is:
Long, thin, placed in a candle stand
- Good wax:
Beeswax
Wax melts
- What it is:
Scented wax with no wick, warmed over a burner
- Good wax:
Soy, natural wax
| Type | What it is | Good wax |
|---|---|---|
Pillar | Stands on its own, no jar | Soy + beeswax blend |
Container / jar | Poured and burned inside a jar or tin, often with a lid | Soy, palm, beeswax |
Votive | Small candle burned inside a glass holder | Soy, beeswax |
Tea-light | Tiny candle in a metal or clear cup | Soy, palm, beeswax |
Floating | Flat tea-light that floats on water, with flowers | Firmer blends |
Taper | Long, thin, placed in a candle stand | Beeswax |
Wax melts | Scented wax with no wick, warmed over a burner | Soy, natural wax |
You can pour candles into almost anything heat-safe — jars, tins, diyas or silicone moulds — and leftover wax can be melted again and reused.
Choosing your wax
Soy
- Good points:
Plant-based, vegan, holds scent well
- Watch out:
Top can look a little frosty
Beeswax
- Good points:
Fully natural, burns long and steady, honey glow
- Watch out:
Costs more, melts slower
Palm
- Good points:
Crystal patterns, firm
- Watch out:
Choose sustainably sourced
Paraffin
- Good points:
Cheap, easy to colour
- Watch out:
Many people prefer natural waxes for a cleaner burn
| Wax | Good points | Watch out |
|---|---|---|
Soy | Plant-based, vegan, holds scent well | Top can look a little frosty |
Beeswax | Fully natural, burns long and steady, honey glow | Costs more, melts slower |
Palm | Crystal patterns, firm | Choose sustainably sourced |
Paraffin | Cheap, easy to colour | Many people prefer natural waxes for a cleaner burn |
Pillar blend idea: soy 40–50%, beeswax 20–30%, paraffin up to 20% (or replace the paraffin with more beeswax). Small jar blend: 80 g beeswax + 20 g soy for every 100 g. A small 2.5-inch jar needs about 15–20 g of wax.
What you need
- Wax (flakes, pellets or chunks)
- Cotton or paper wicks with metal bases — avoid metal-core wicks
- Double boiler: a pot of water and a metal pouring jug
- Thermometer and kitchen scale
- Candle dye (chips or liquid) and essential or fragrance oils
- Jars, tins or silicone moulds, glue dots and a centring stick
- Keep these tools only for candles — not for cooking
Step 1 / 8
Prepare your space
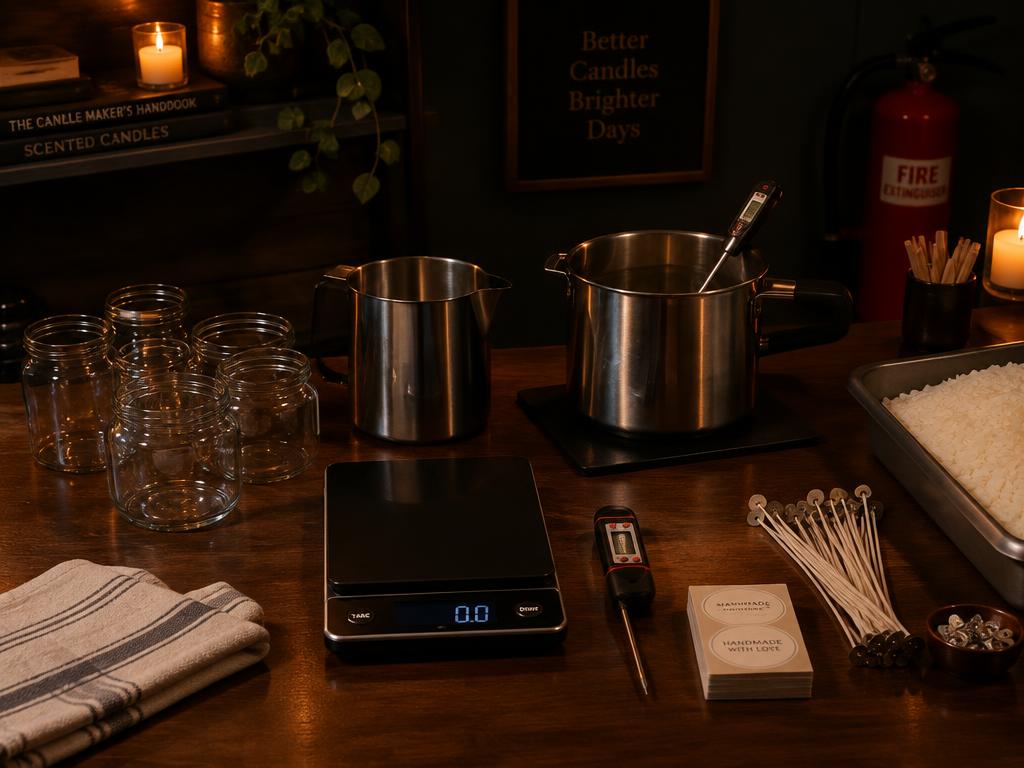
Cover the table, open a window and keep children and pets away. Have a lid or a fire blanket close by. Never leave melting wax alone.
Step 2 / 8
Weigh the wax
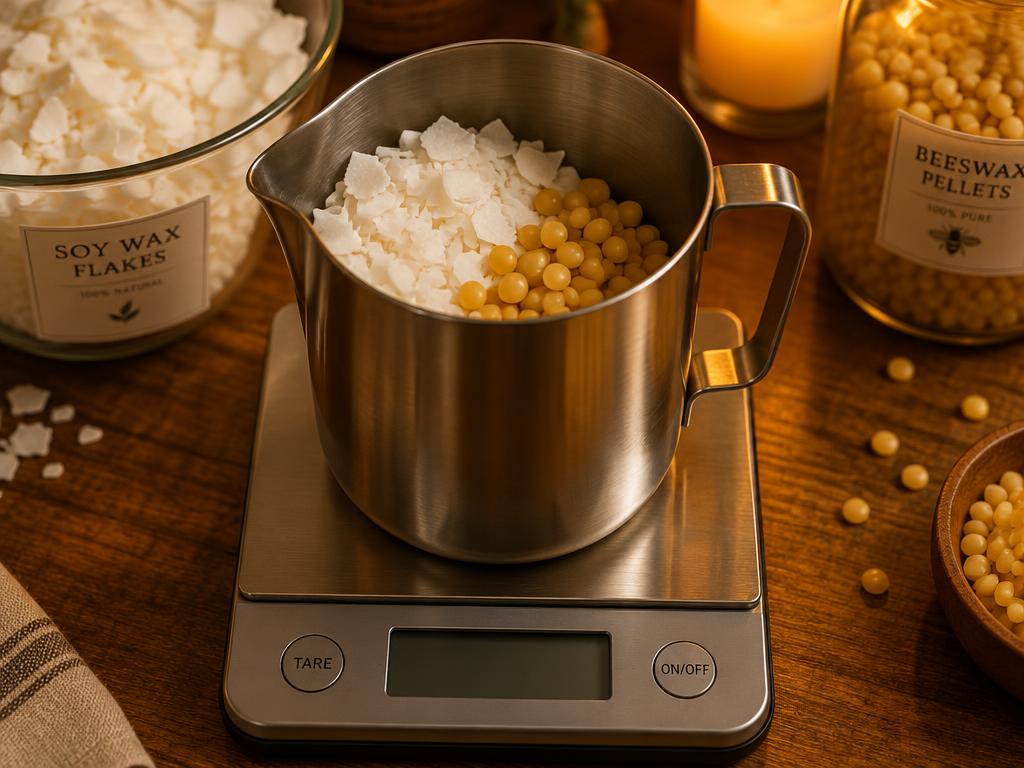
Weigh rather than guess. For four small jars, about 80 g of wax is plenty. Mix your soy and beeswax now.
Step 3 / 8
Set up the double boiler
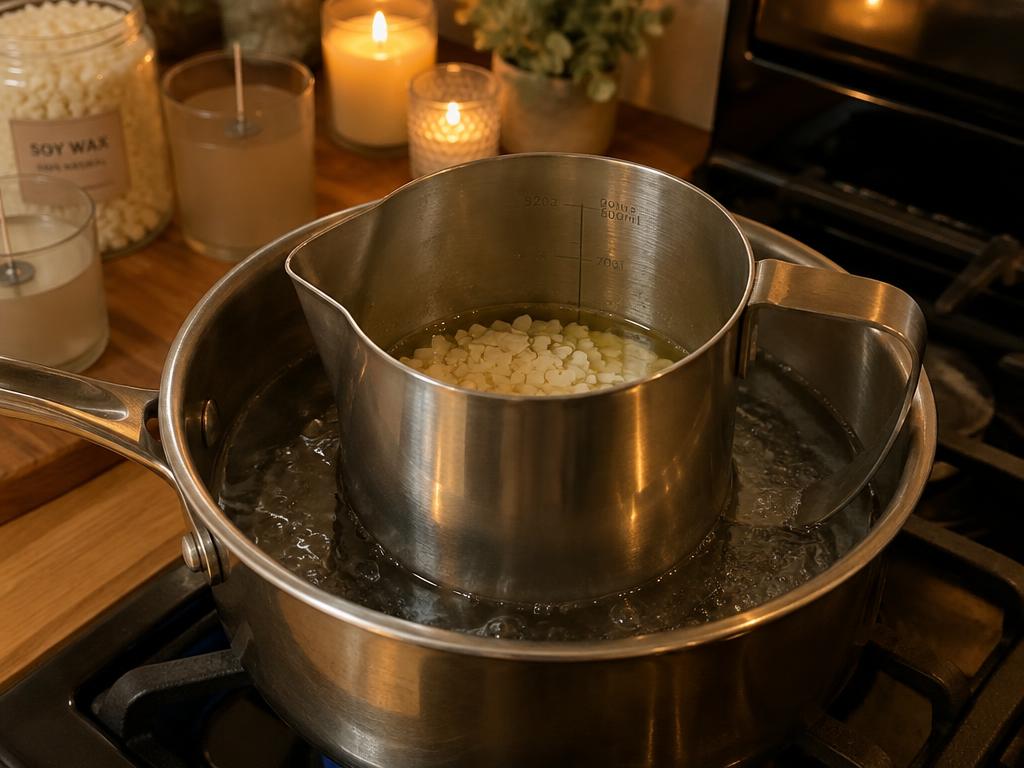
Put a few centimetres of water in a pan and stand the jug inside. Keep the water at a gentle simmer — the wax never touches direct flame. Metal jugs are safer than glass, which can crack.
Step 4 / 8
Melt gently and check the temperature
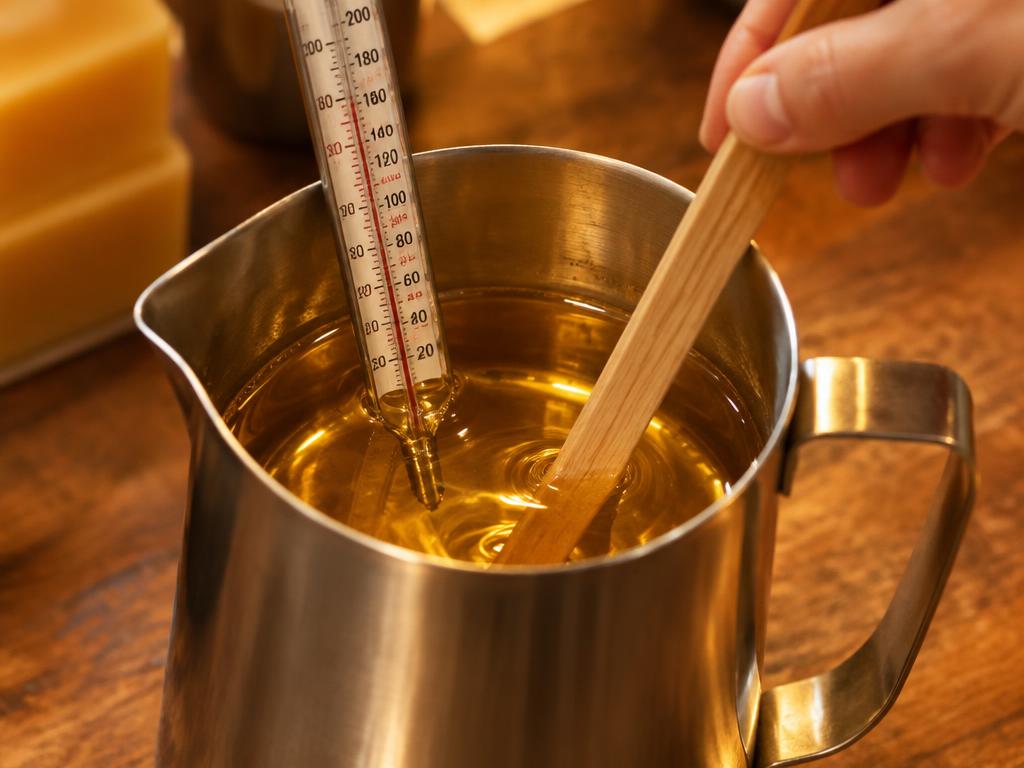
Stir with a wooden stick until fully clear. Soy melts around 50°C and beeswax around 62–65°C. Aim for about 75–85°C and do not go above 90°C — very hot wax can smoke or catch fire. Do not use a microwave.
Step 5 / 8
Fix and centre the wick
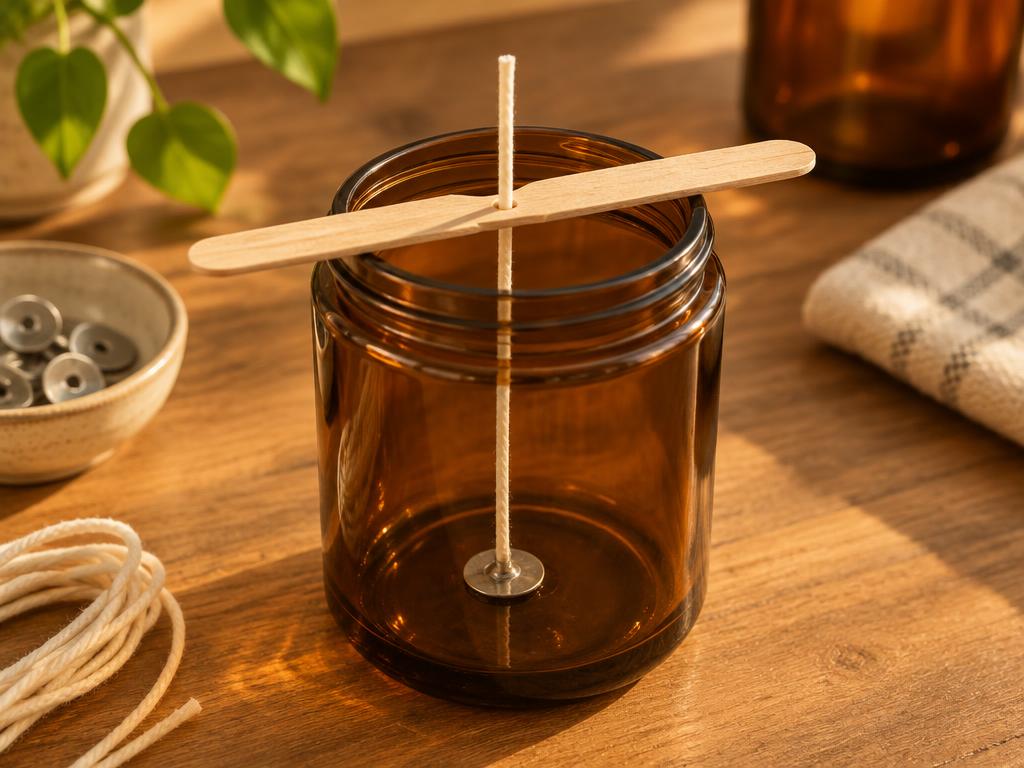
Stick the metal base to the centre of the jar with a glue dot. Rest a centring stick, pencil or two toothpicks across the rim to hold the wick straight. A centred wick burns evenly.
Step 6 / 8
Off the heat: colour and scent
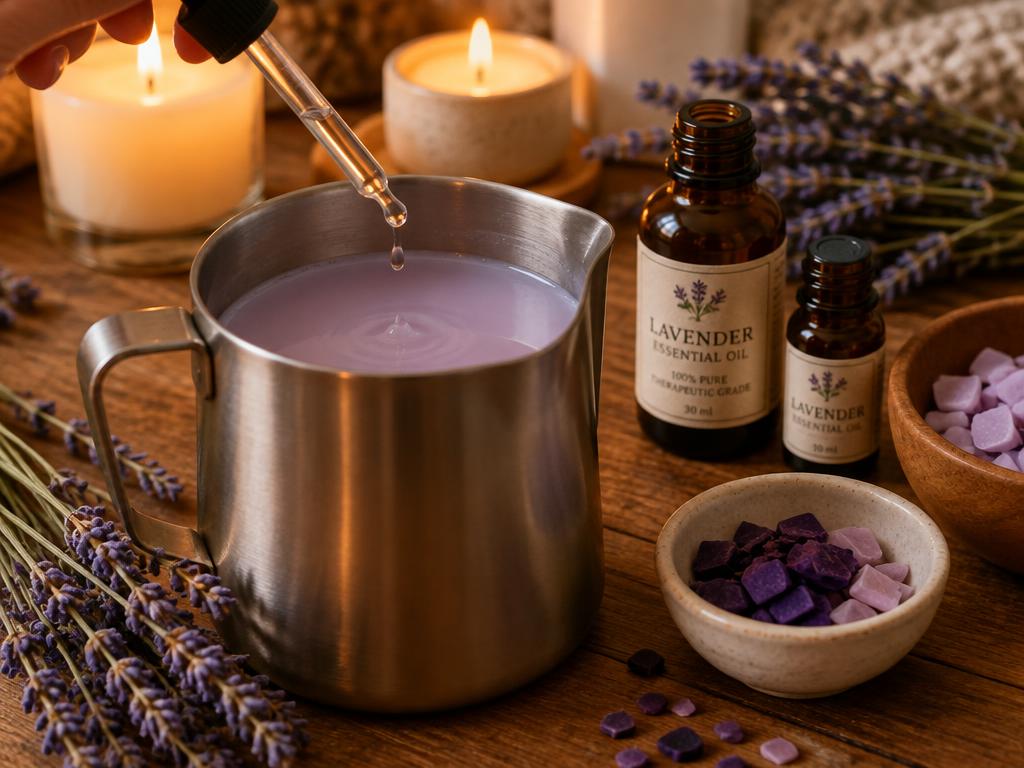
Take the jug off the heat first. Add dye and stir. Let it cool to about 65–70°C, then add oil — about 6–10% of the wax weight (for 100 g wax, 6–10 ml, roughly 1–2 teaspoons; 1 teaspoon ≈ 5 ml). Flammable oils such as camphor must only ever go in off the heat.
1 ml
- About:
20 drops
1 teaspoon
- About:
5 ml
1 tablespoon
- About:
15 ml
| Amount | About |
|---|---|
1 ml | 20 drops |
1 teaspoon | 5 ml |
1 tablespoon | 15 ml |
Lavender calms, rose softens, orange lifts, sandalwood grounds.
Step 7 / 8
Pour, decorate and let it set
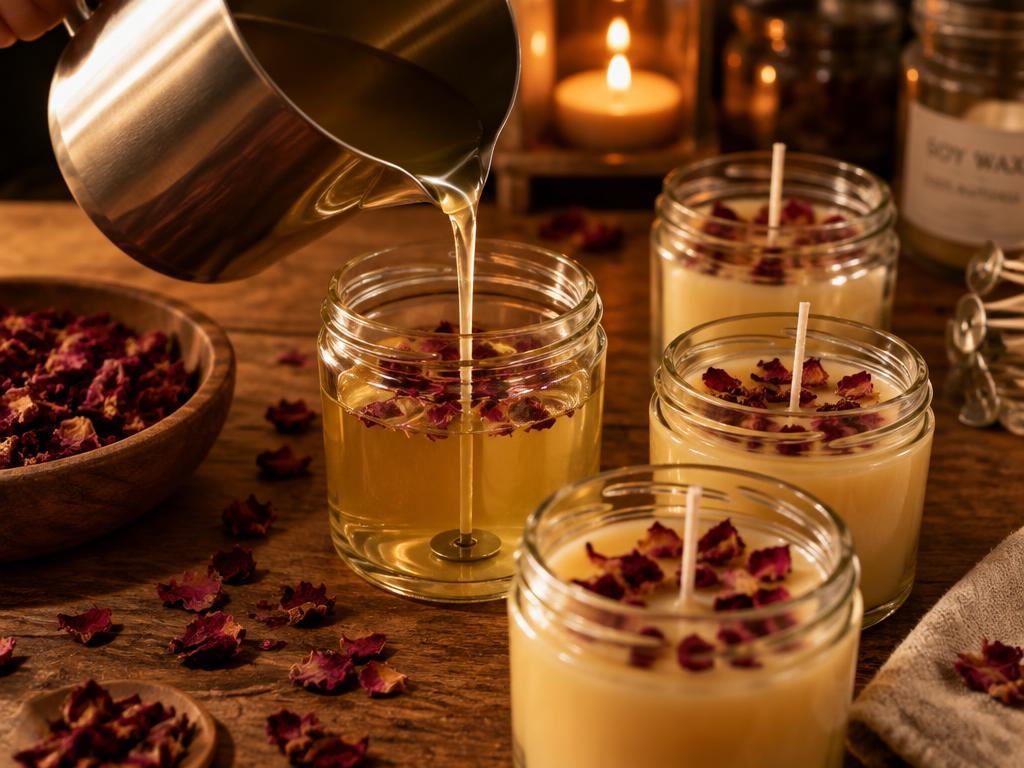
Pour slowly into the jars. Sprinkle a few dried petals on top — keep them away from the wick so they don't catch. Leave undisturbed for several hours, ideally overnight.
Step 8 / 8
Trim, cure, label and gift
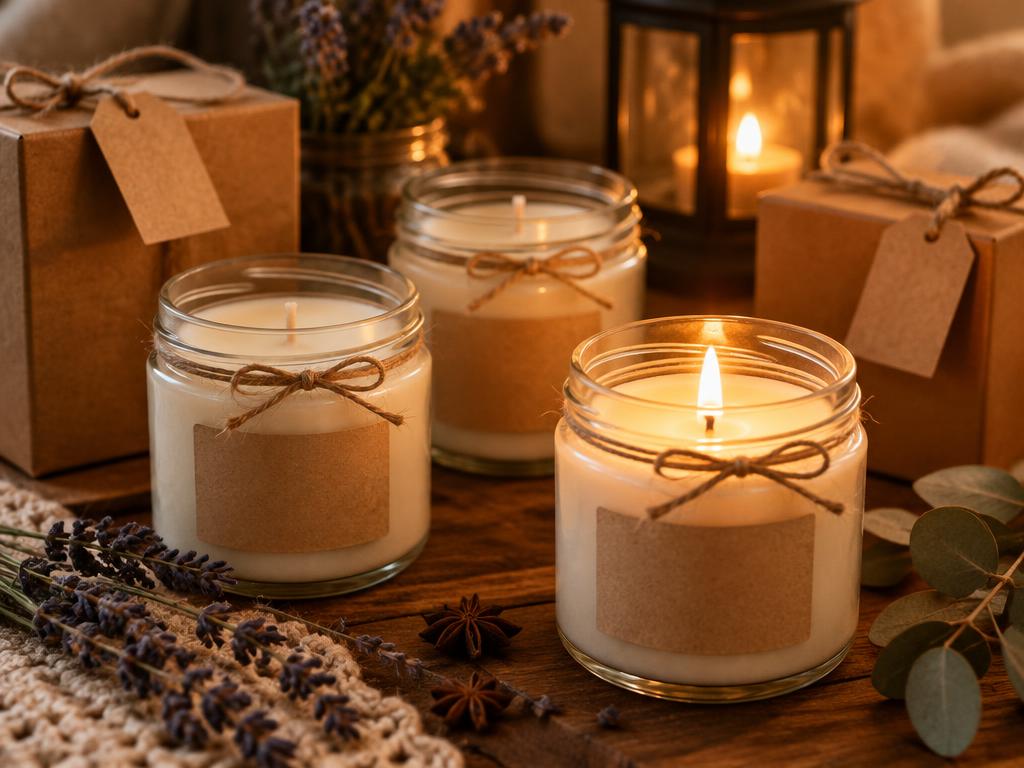
Trim the wick to about 5–6 mm. Let soy candles rest 1–2 days for a stronger scent. Add a label with the scent, wax and a safety line, then wrap with twine.
Do's and don'ts
Do: use a thermometer · add oils off the heat · centre the wick · burn on a heat-safe plate · trim the wick before each use.
Don't: leave melting wax alone · heat wax on direct flame · pour water on a wax fire (cover it with a lid and turn off the heat) · put petals near the wick · burn near curtains, children or pets.
Essential oil care
Some oils (tea tree, eucalyptus, some citrus) can bother cats, dogs and birds. If you are pregnant, have asthma or are sensitive to scent, keep amounts low and air the room. Aroma candles are for comfort and mood, not a medical treatment.
Now read your flame
Your handmade candle is perfect for a reflection session. Light it with an intention, then learn what its flame and wax may be telling you in our or start a .
About this guide: inspired by aroma candle making course notes shared by our reader, rewritten in our own words, with temperatures checked against common candle-making safety ranges.
Questions & answers
How much essential oil should I add?
About 6–10% of the wax weight — for 100 g of wax, 6 to 10 ml (1–2 teaspoons), added off the heat.
Can I use a microwave?
It is better not to. A double boiler heats wax evenly and is much safer.
Why is my soy candle top frosty?
That is natural soy frosting. Adding some beeswax or pouring a little cooler helps.
What if the wax catches fire?
Turn off the heat and cover the pot with a lid. Never use water.
Can I reuse old candle wax?
Yes. Remove old wicks, melt the wax in a double boiler and pour new candles.
#candle making#aroma candles#soy wax#beeswax#essential oils#DIY